
Browse Guides
5 guides
3 guides
2 guides
13 guides
1 guide
9 guides
12 guides
2 guides
18 guides
1 guide
1 guide
1 guide
2 guides
1 guide
1 guide
1 guide
1 guide
1 guide
1 guide
1 guide
2 guides
2 guides
1 guide
Layout and Editing
Add widgets, adjust the layout, and keep the dashboard clear as it grows.
Use layout editing to control how the dashboard reads on screen.
This is where you decide how large widgets should be, which ones deserve priority, and how the dashboard should flow from top to bottom.
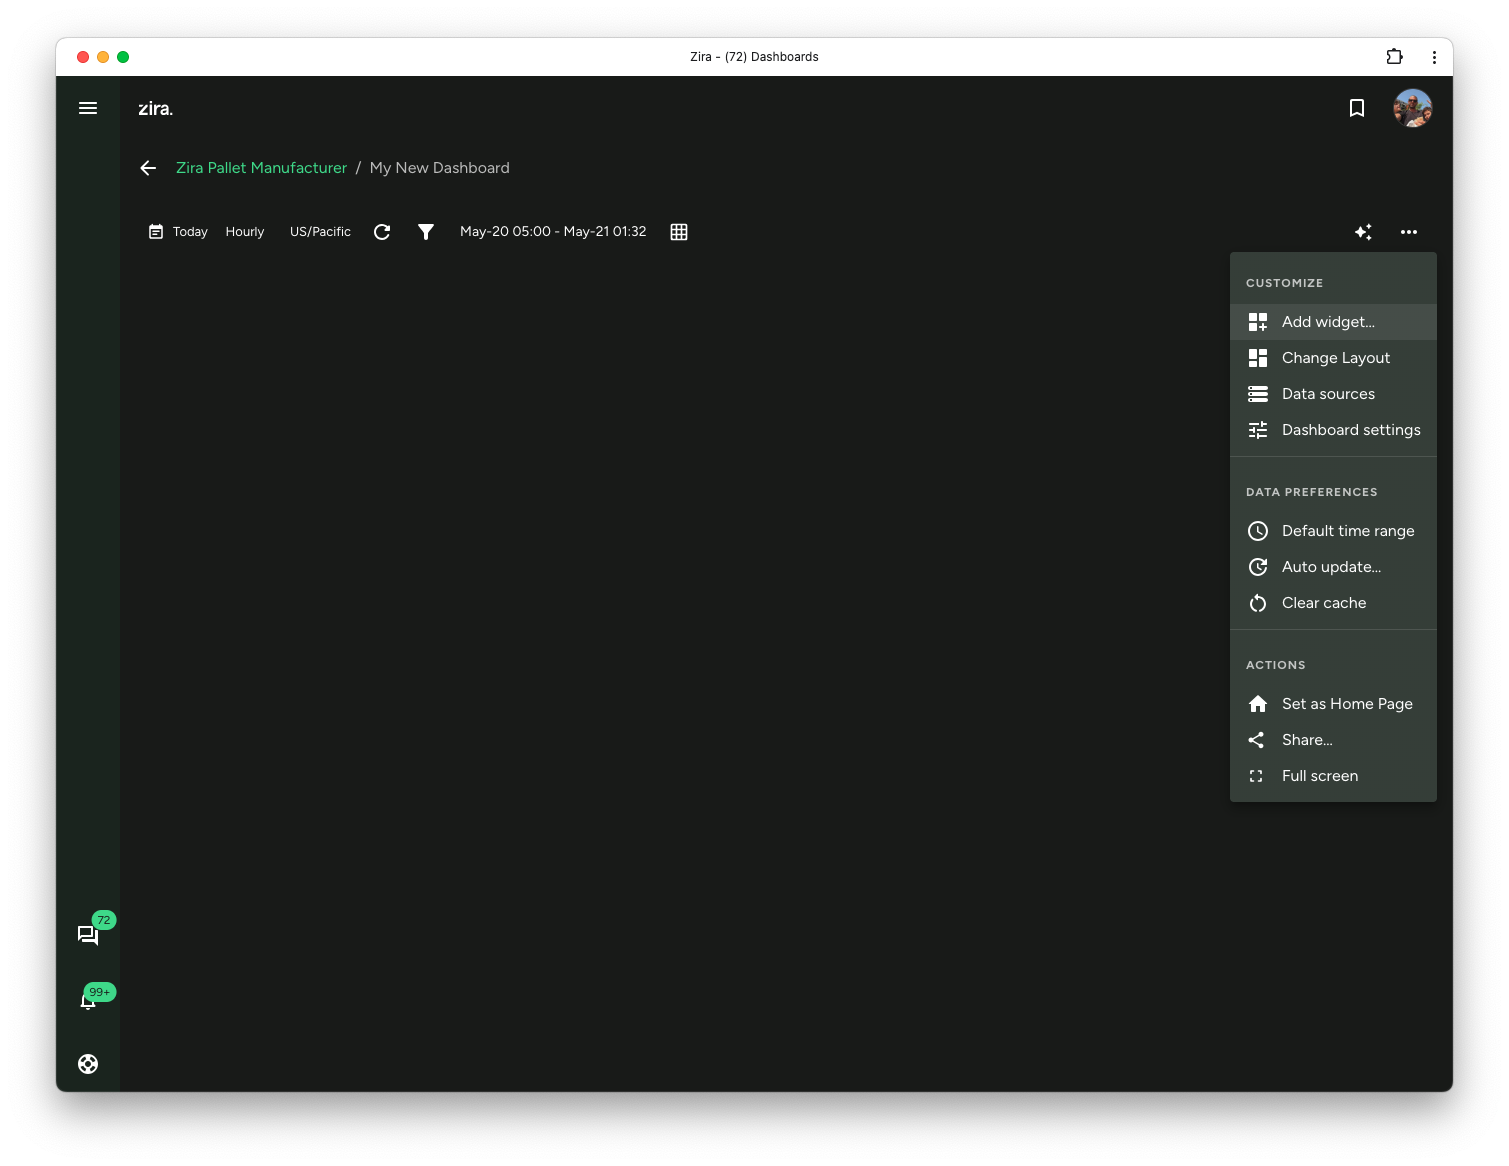
Open layout editing
- Open the dashboard.
- Click Dashboard options next to the time range in the toolbar.
- Click Change Layout.
The same menu is also where you can add widgets, change data sources, update dashboard settings, and open full screen.
Change the working screen size
While you are editing the layout, you can switch the working size to match a device type such as mobile, tablet, or desktop.
Use this to preview how the layout behaves before you leave edit mode.
Add a widget
- Click Dashboard options next to the time range.
- Click Add widget.
- Choose the widget type you want.
- Complete the widget setup form.
- Save the widget.
After saving, the widget is added to the layout and can be moved or resized.
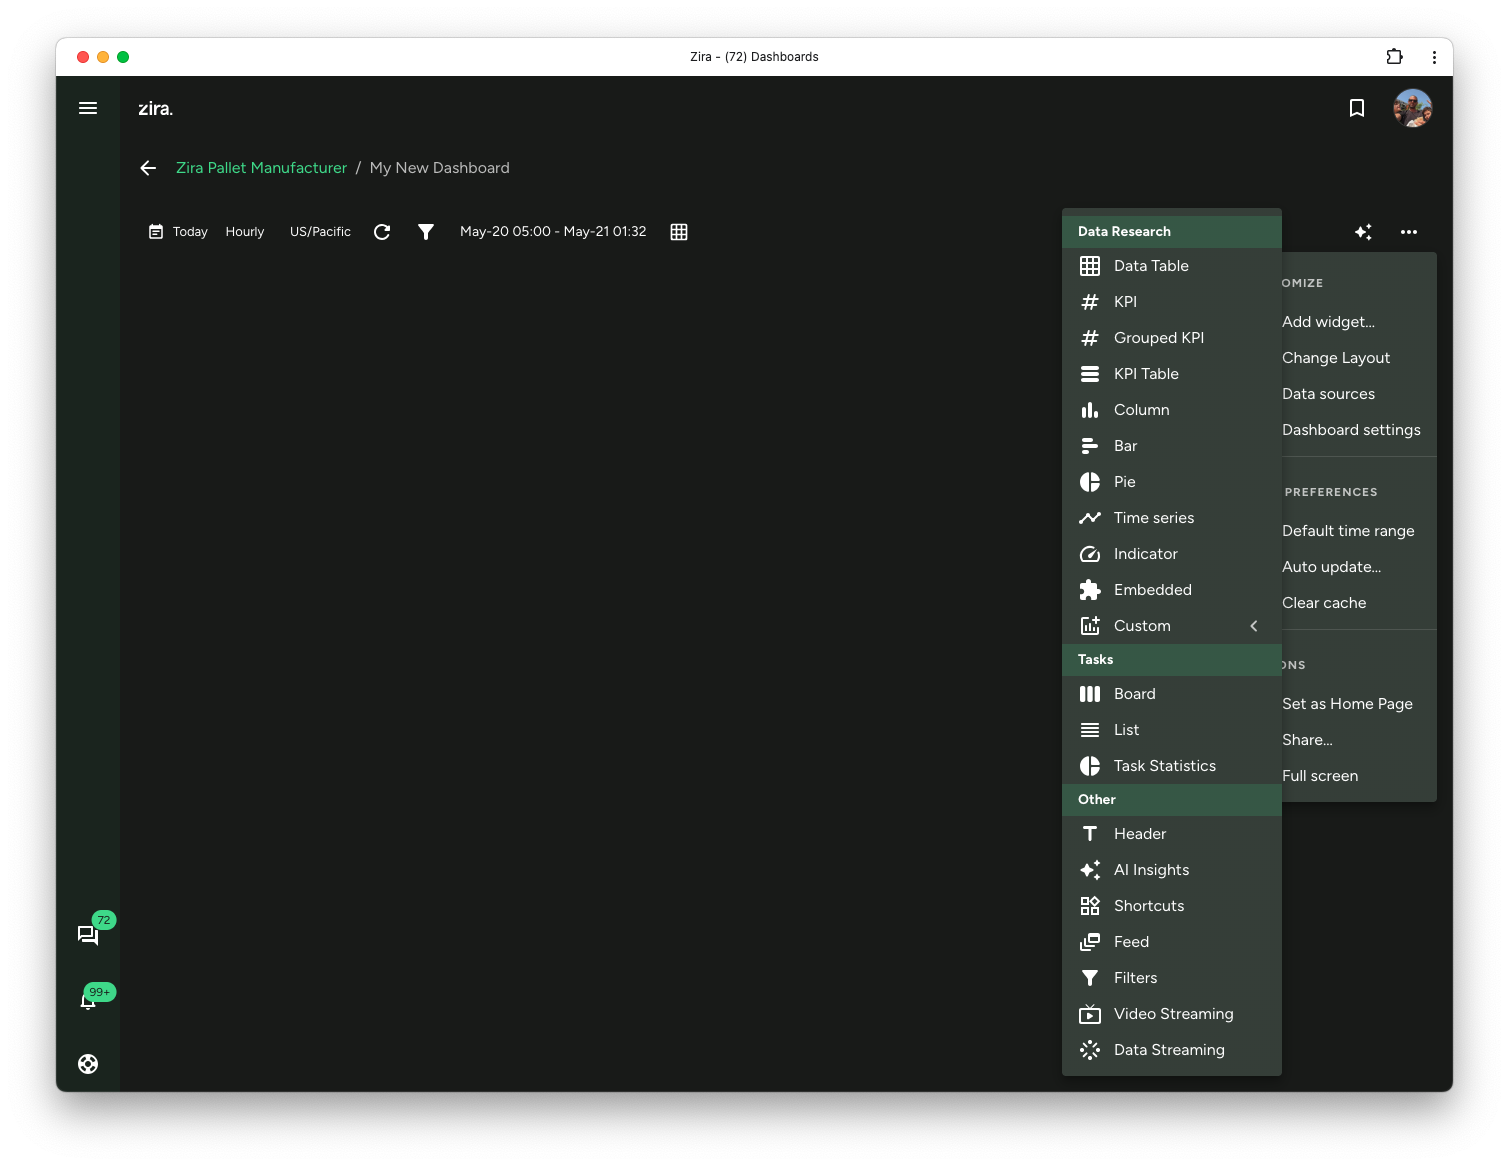
Start with the widget type that best matches the question you want the dashboard to answer. For example:
- use KPI for a single headline number
- use Column or Bar for comparison
- use Time series for change over time
- use AI Insights when people need written explanation
- use Header, Shortcuts, or Filters for structure and navigation
Reorder the page
As you arrange the dashboard:
- keep the most important widgets near the top
- group related widgets together
- avoid making every widget the same size
- leave enough space for larger tables and chart widgets
Edit an existing widget
- Open the widget menu.
- Click Edit.
- Update the widget settings.
- Save the widget.
Duplicate or remove a widget
Use the widget menu when you want to:
- duplicate a widget and adjust a variation
- remove a widget that is no longer needed
Duplicating is helpful when you want two similar widgets with different metrics, filters, or date behavior.
Check the result after saving
Once a widget is saved, it appears directly on the dashboard.
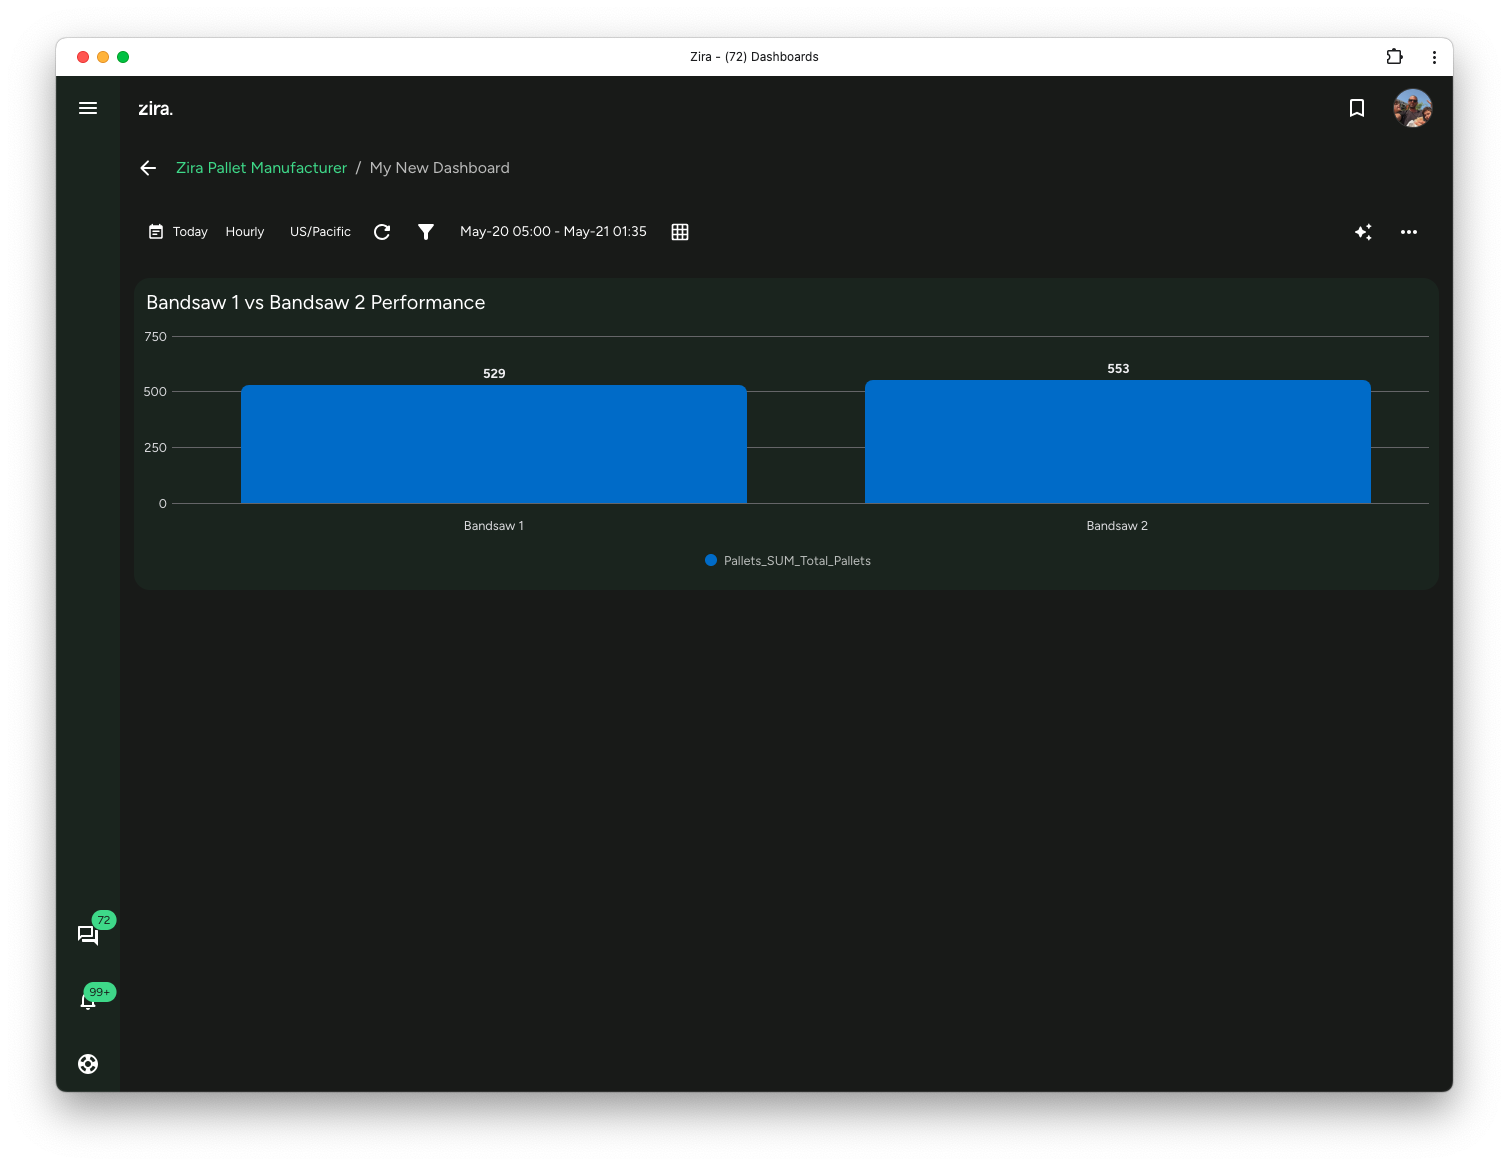
This is a good moment to decide whether the widget needs:
- a different size
- a different place on the page
- a clearer title
- or a second related widget beside it
Use full screen and auto-update
The toolbar also supports:
- Full screen from Dashboard options > Actions
- Auto update from Dashboard options > Data Preferences
Use Full screen for presentation and focused monitoring. Use Auto update when a dashboard should refresh on a schedule.
Read next
- Data Research Widgets - Chart- and metric-focused widgets.
- Utility and live widgets - Start with Header, then review Shortcuts, Feed, Filter Widget, Streaming, and Data Streaming.