
Browse Guides
5 guides
3 guides
2 guides
13 guides
1 guide
9 guides
12 guides
2 guides
18 guides
1 guide
1 guide
1 guide
2 guides
1 guide
1 guide
1 guide
1 guide
1 guide
1 guide
1 guide
2 guides
2 guides
1 guide
AI-Vision Data Source
Create an AI-Vision data source, review the template fields, and pair it with a Zira AI-Vision device.
Use AI-Vision when you want a ready-made setup for counting, measuring, monitoring, or inspecting objects with a Zira AI-Vision device.
This type is helpful when you want to move quickly from setup to live device pairing without building the data source from scratch.
Start from the Data Sources tab
Open the channel where you want to add the device, then open Data Sources.
You will see the list of existing data sources for that channel.
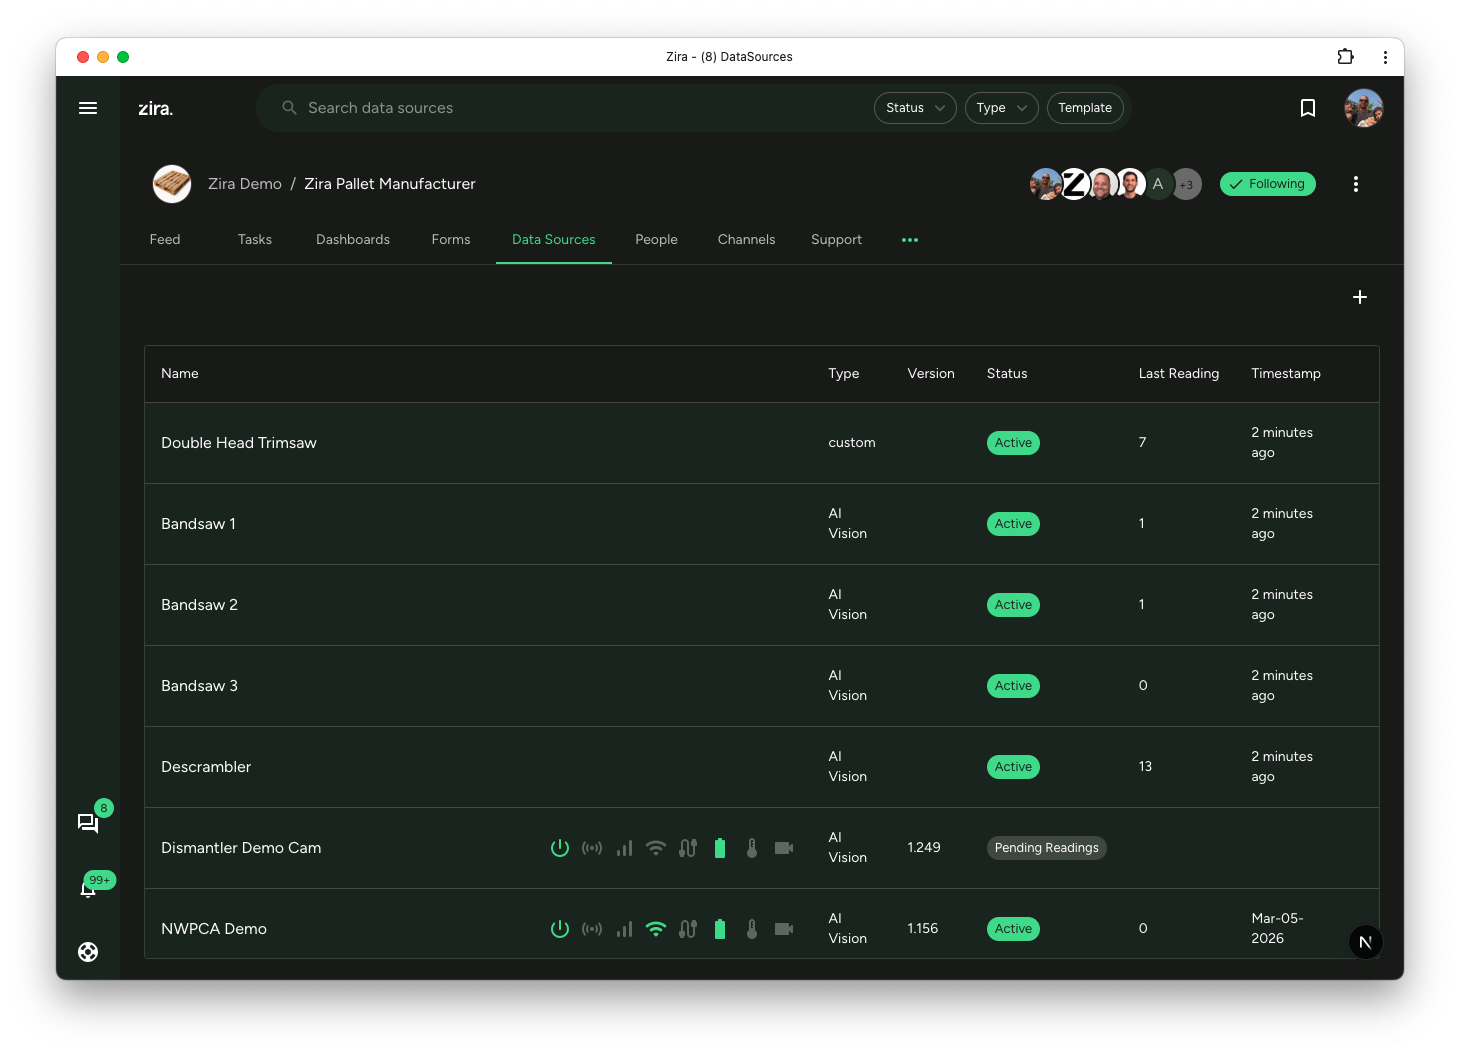
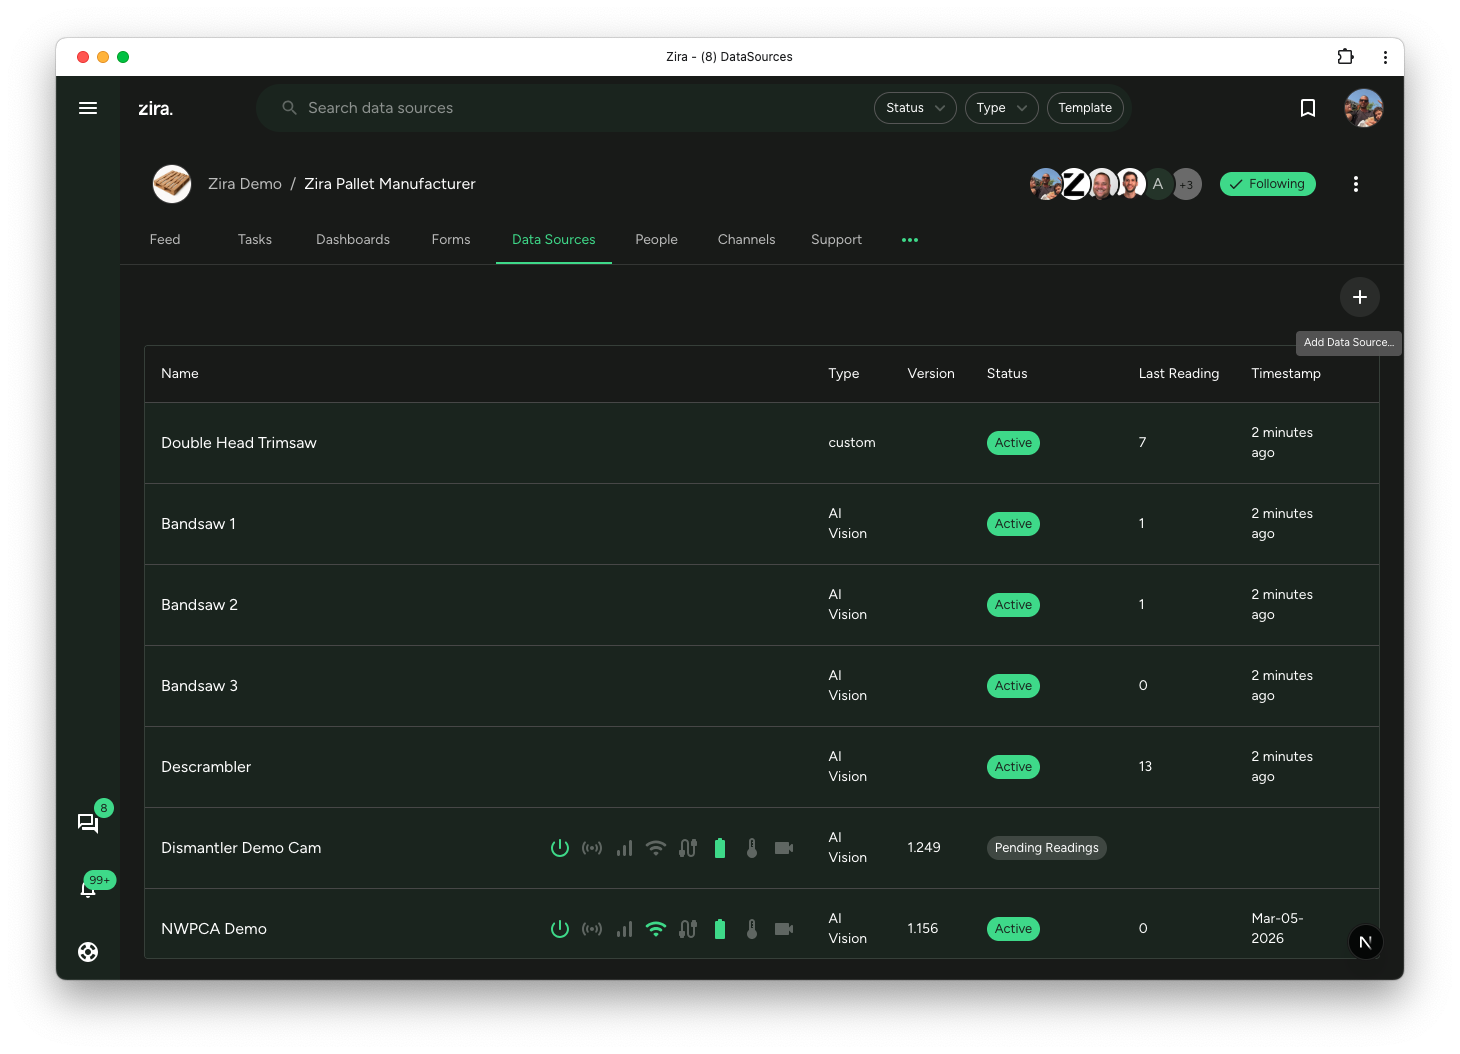
Click Add Data Source in the top-right area to begin.
Choose AI-Vision in the create flow
- Open a channel.
- Click the Data Sources tab.
- Click Add Data Source.
- Choose AI-Vision.
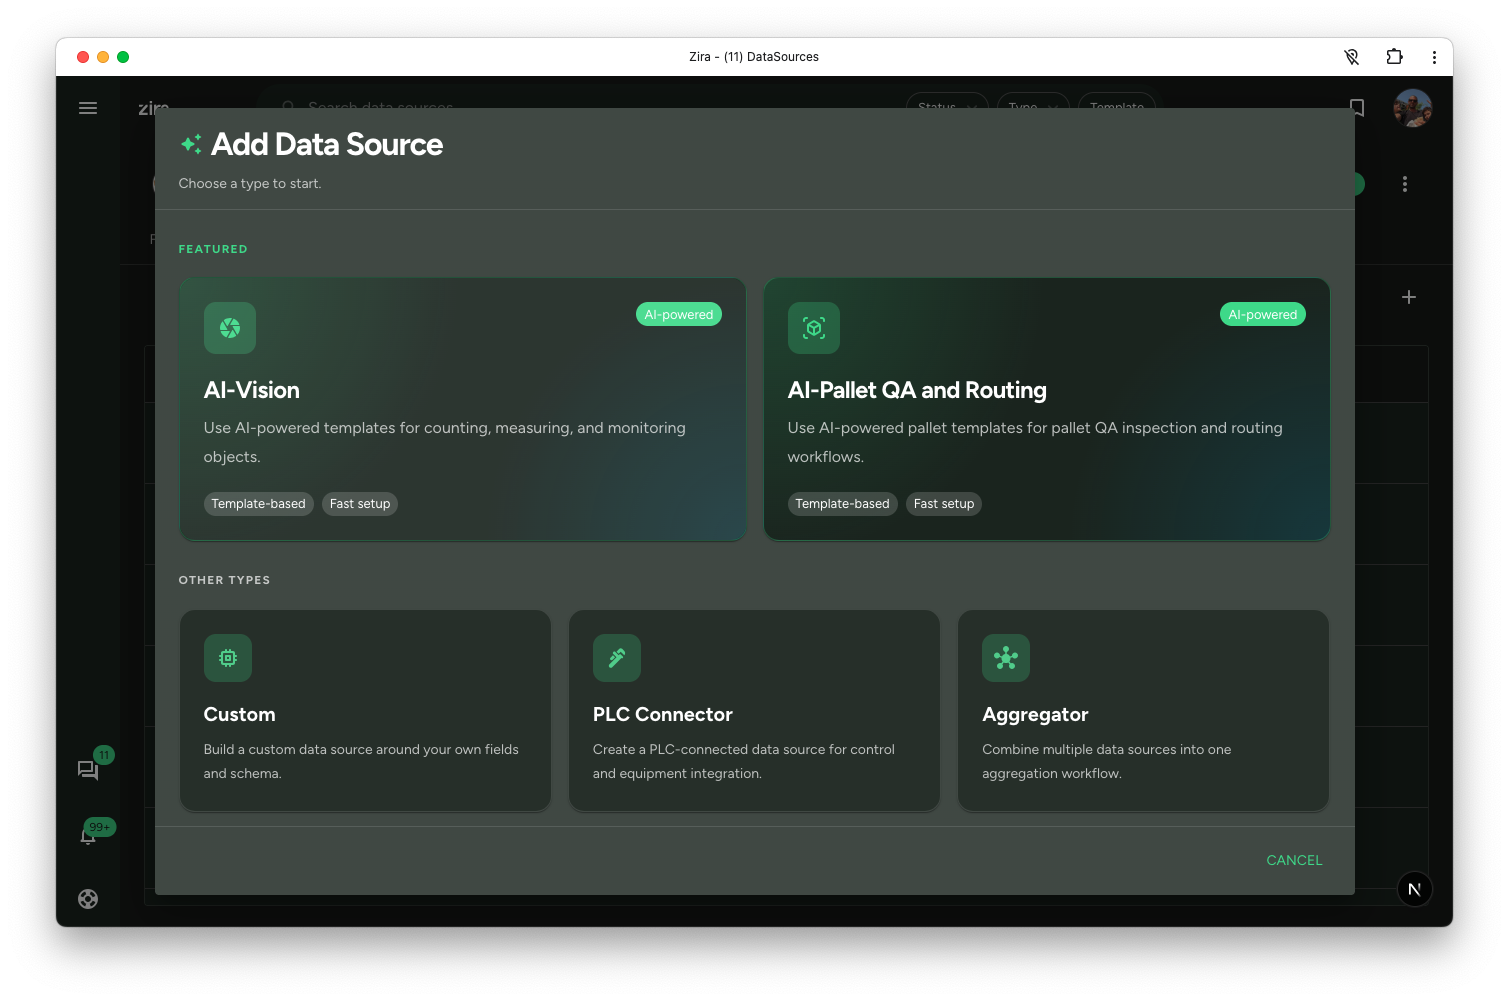
The AI-Vision card is the best choice when you want a fast setup based on a built-in vision template.
Pick a template and name the data source
- Review the available templates.
- Select the template that matches your workflow.
- Enter the data source name.
- Click Create data source.
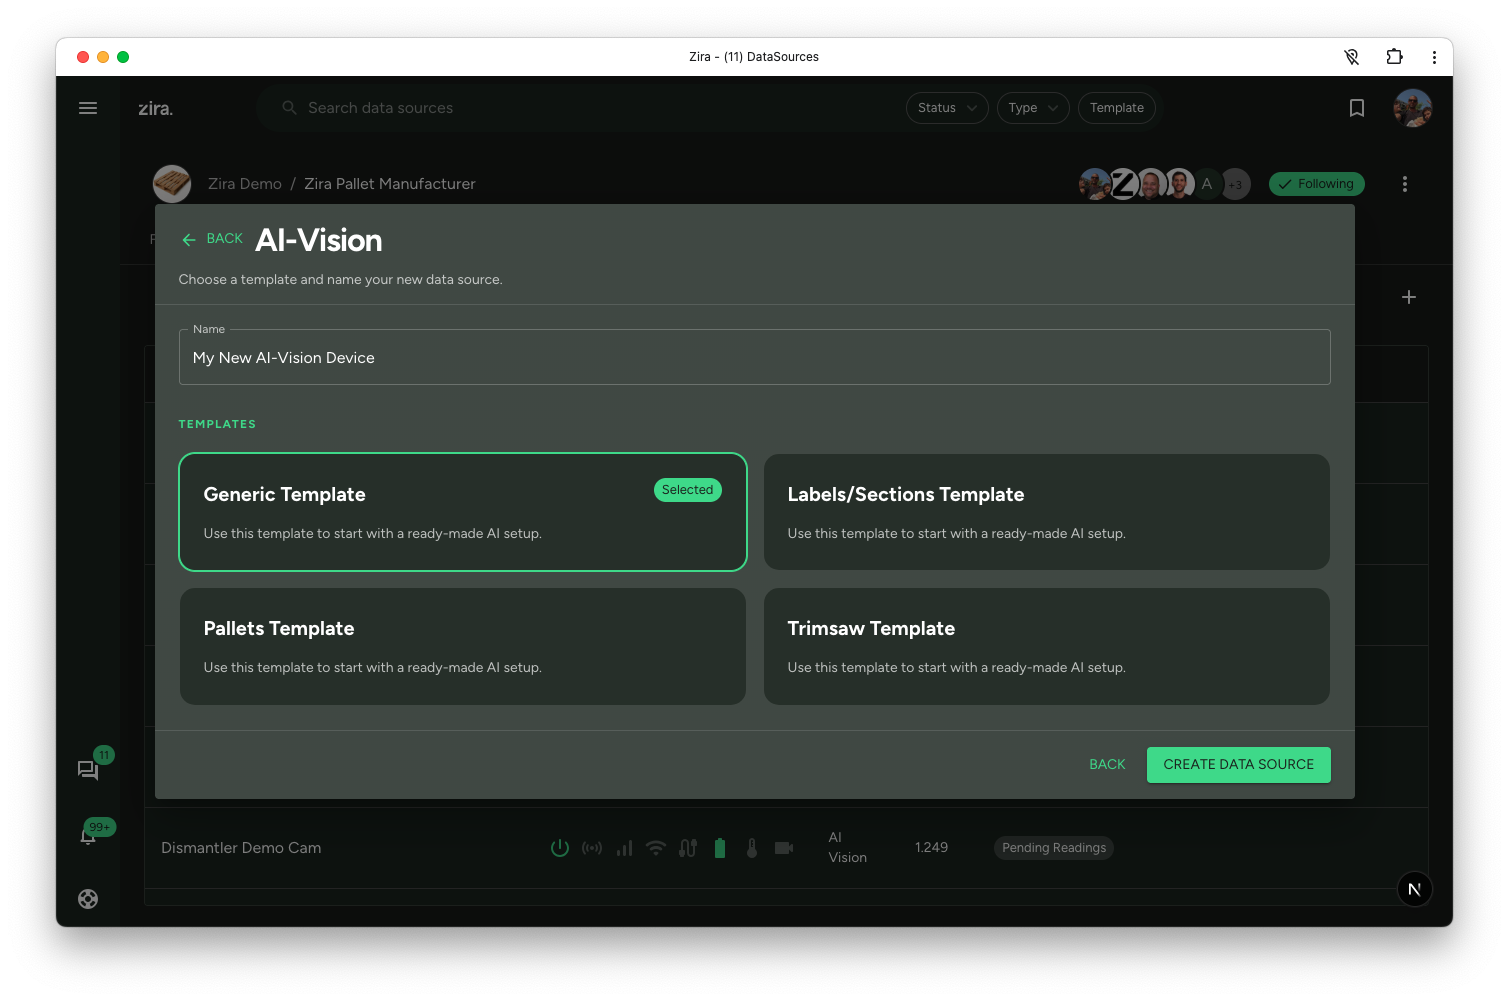
Pick the template that feels closest to the workflow you want to track. You can still review and adjust the setup after the data source opens.
Review the built-in fields
After the data source opens, Zira shows the fields that came with the selected AI-Vision template.
These fields usually give you a strong starting point for things like:
- counts or units
- status values
- shift or event tracking
- measurements such as length or width
- product or people-related entries
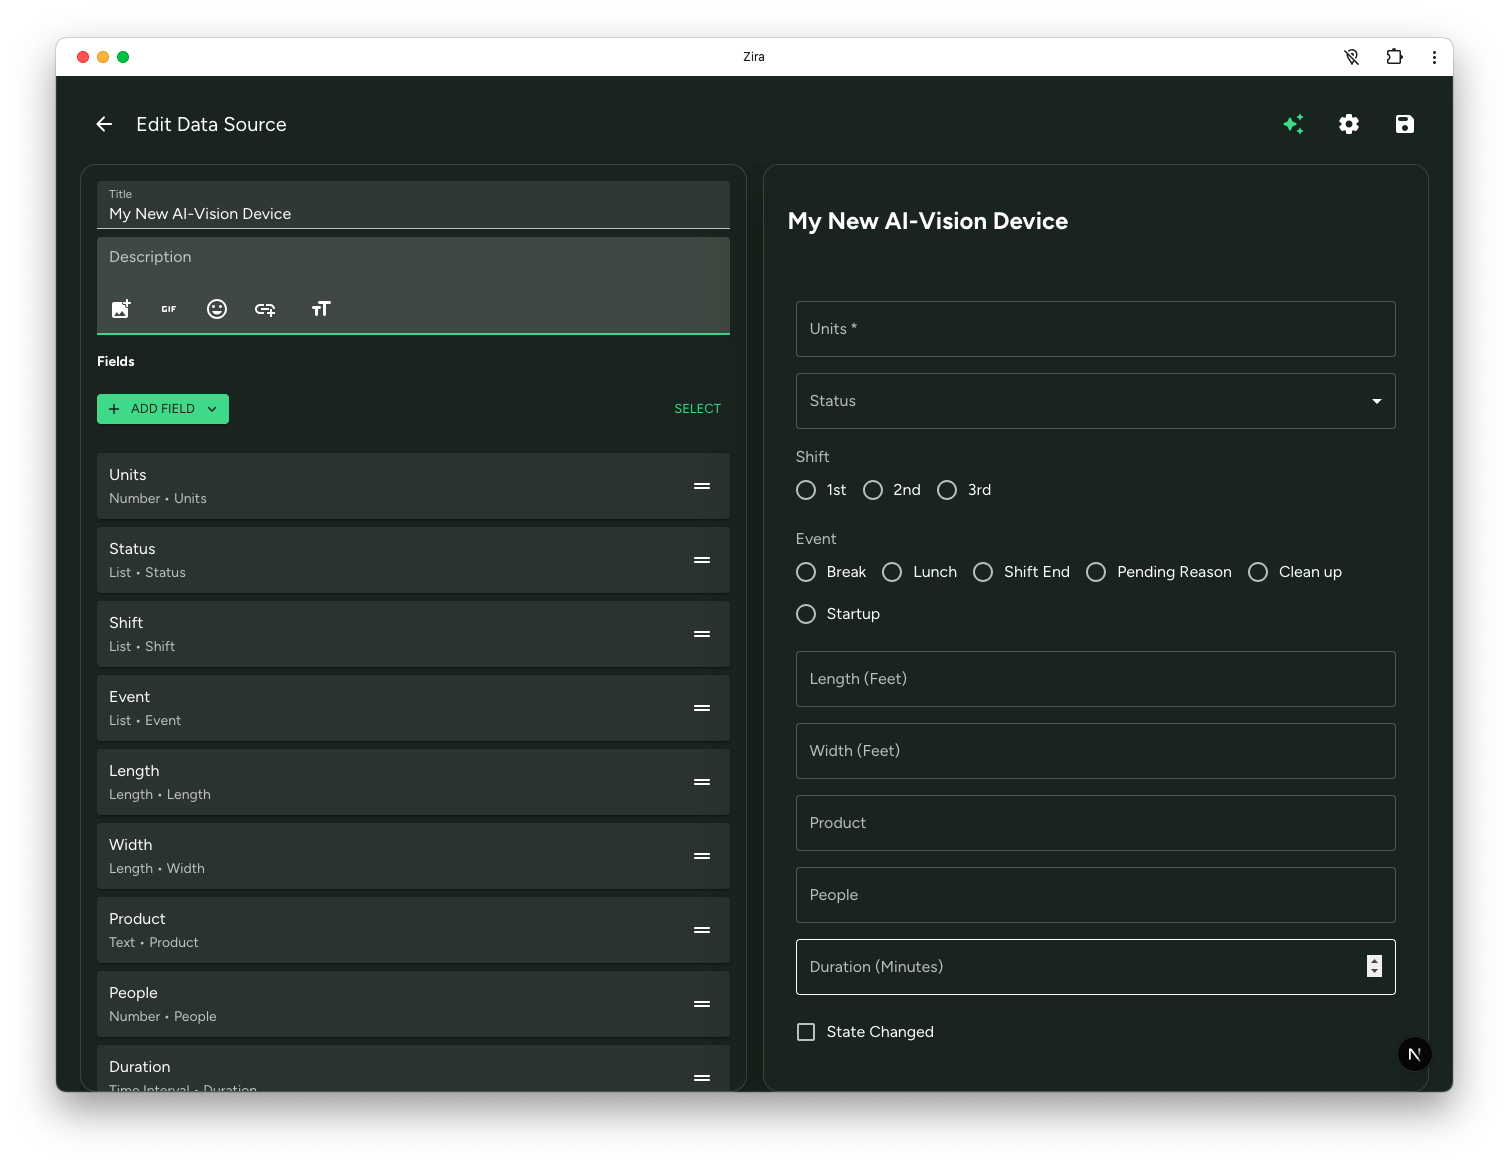
This screen is helpful because it lets you see both sides of the setup at once:
- the field structure on the left
- the live result on the right
Before pairing the device, take a moment to confirm that the fields match what you want operators or workflows to capture.
Pair a Zira AI-Vision device
When you are ready to connect the device:
- Open the data source row actions menu.
- Choose QR Pairing.
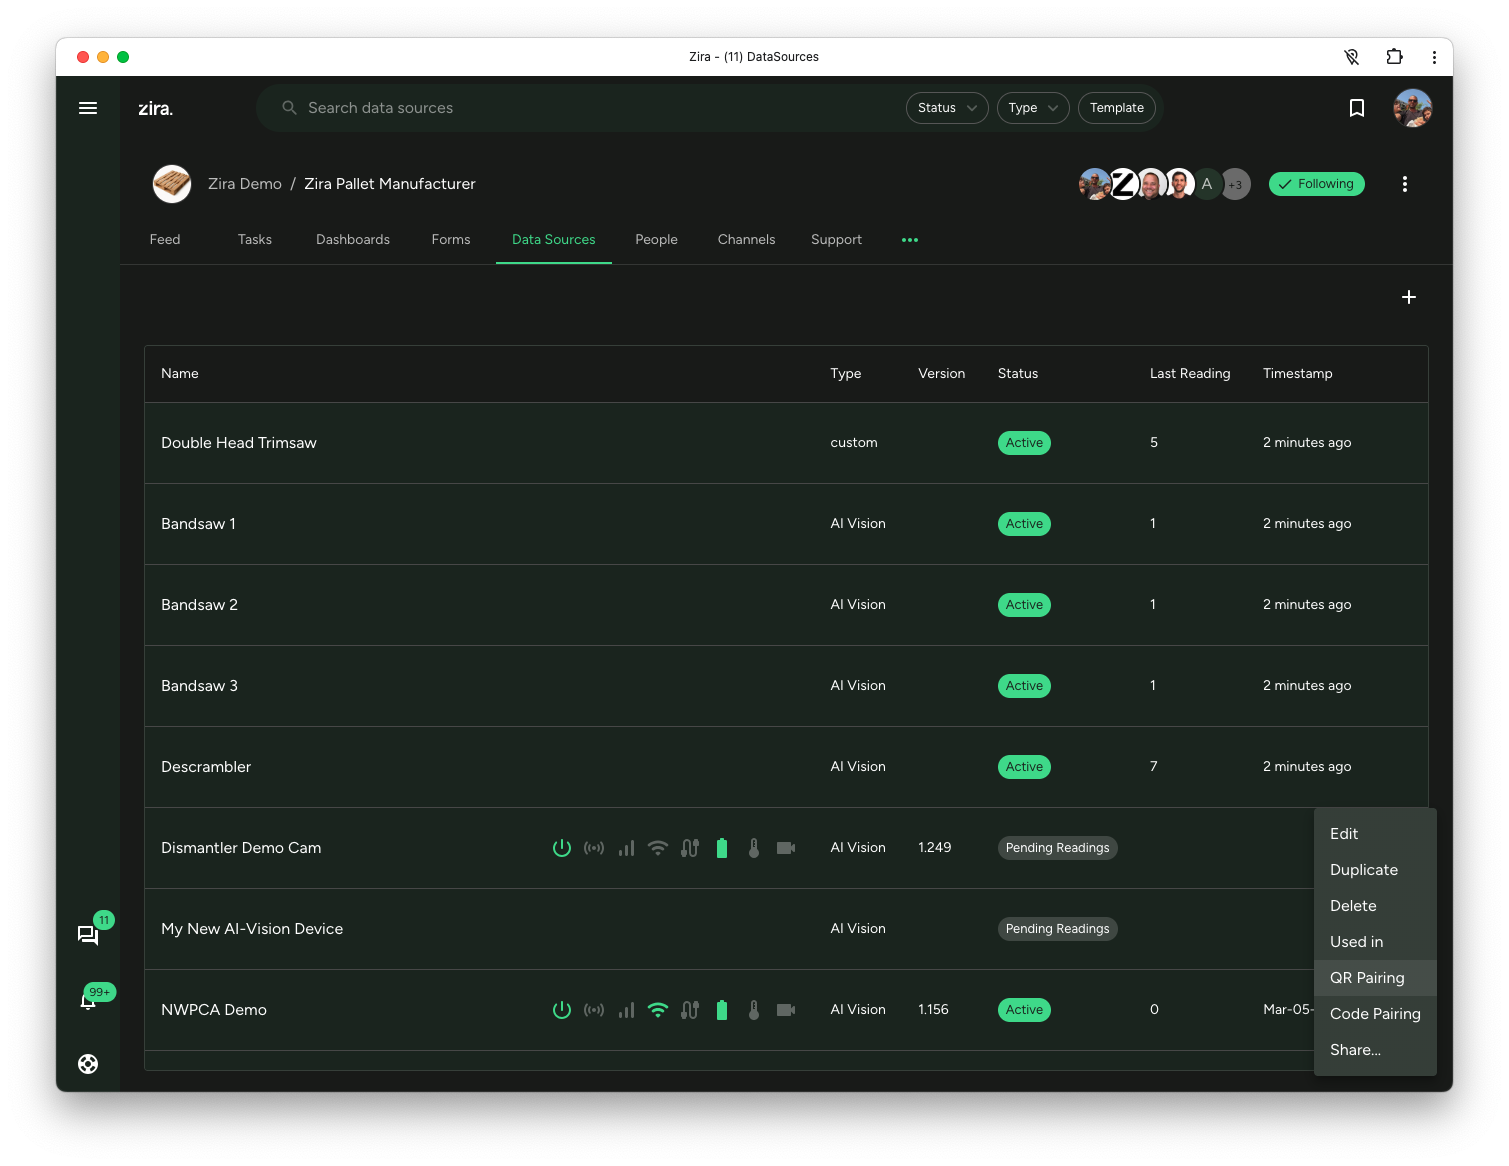
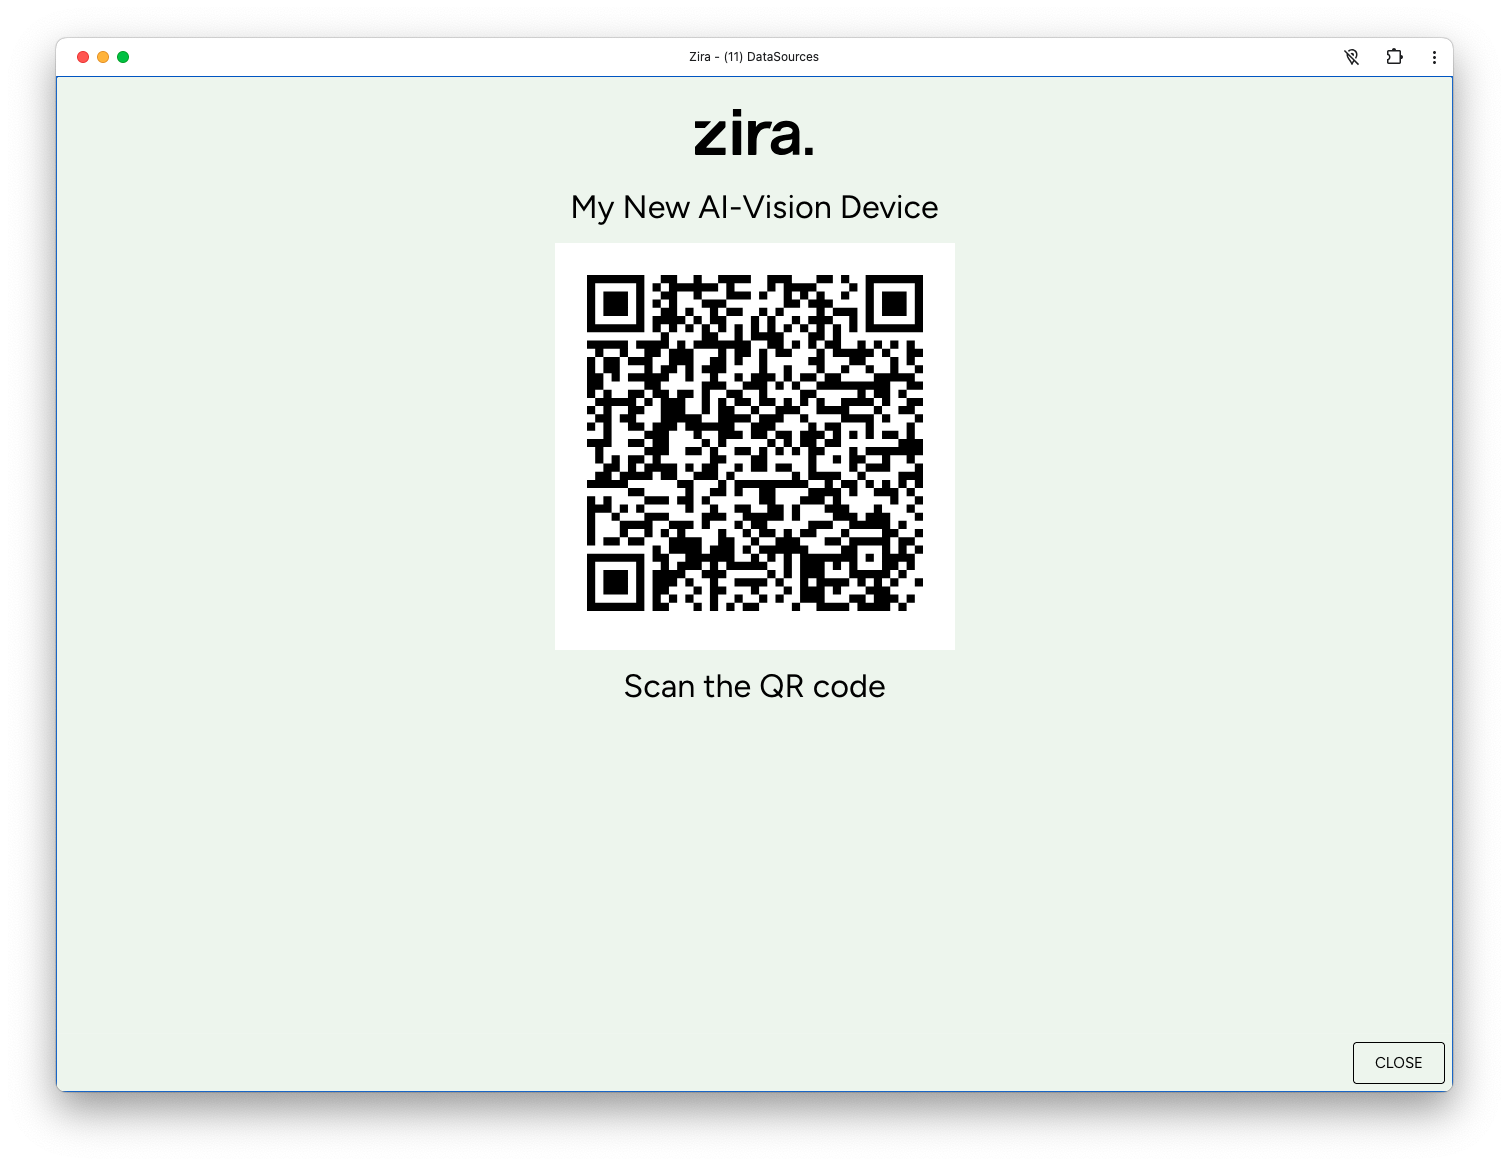
- A QR code opens on the screen.
- On the Zira AI-Vision device home screen, tap Pair.
- Use the scanner on the device to capture the QR code shown in Zira.
If you prefer typing a code, use the OTC option on the device and choose Code Pairing in Zira instead.
Once the QR code is scanned successfully, the device is paired to the data source and ready to continue with the rest of your AI-Vision workflow.
Continue with guided setup
After the data source exists, you can use Home AI Assistant to guide the rest of the workflow.
Ask:
- set up vision device
- what is next for this Vision data source?
- guide me through this device from scratch
The assistant checks the current status and suggests the next step. For a brand-new device, it guides:
- pairing with QR or OTC
- mounting confirmation
- opening Live View to verify the camera view
- opening Remote Control
- recording or scheduling the first video
After videos exist, the assistant can continue the improvement loop:
- sample frames into a dataset
- annotate images
- prepare train and validation splits
- create a dataset version
- run training
- push the model to the device
- collect validation sessions
- review the results and move useful examples back into the dataset
Read next
- Create a Data Source - Return to the full create flow overview.
- Data Sources Tabs - Review created data sources in the table.
- Data Sources Tabs - Continue into the data source workspace from the site or channel list.
- Home AI Assistant - Use guided setup for an existing Vision data source.
- Remote Control - Record the first video after setup.
- Datasets - Prepare images and annotations for training.